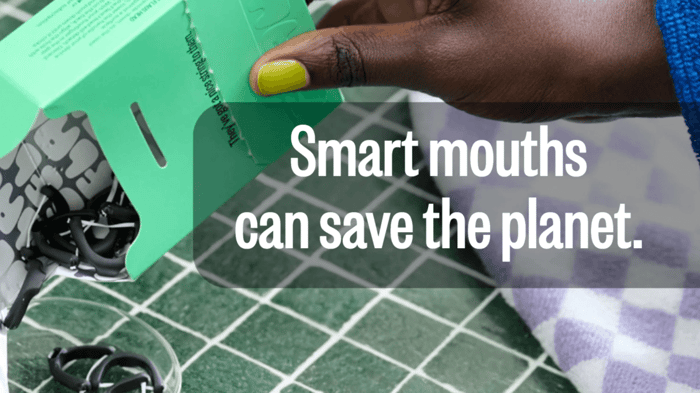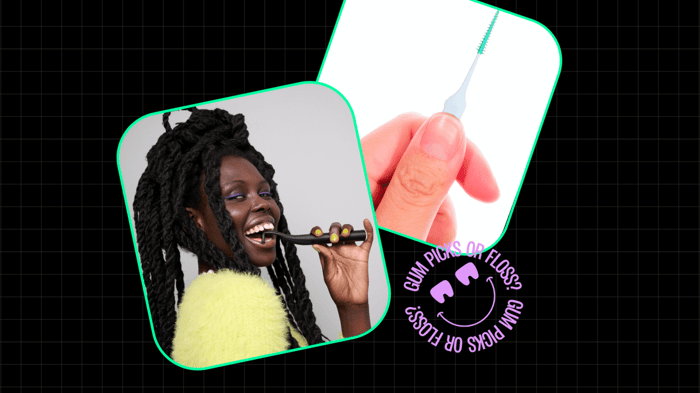


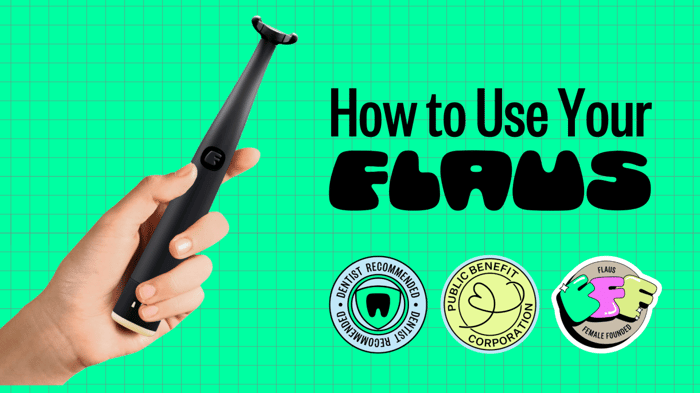
We're so happy you've joined us in Flaustopia! A place where flossing is fun (we know, we know - but it's possible - we promise!). Whether your curious about what flossing with Flaus would be like or you've purchased and are ready to start Flausing - let's deep dive into how to use the Flaus electric flosser!
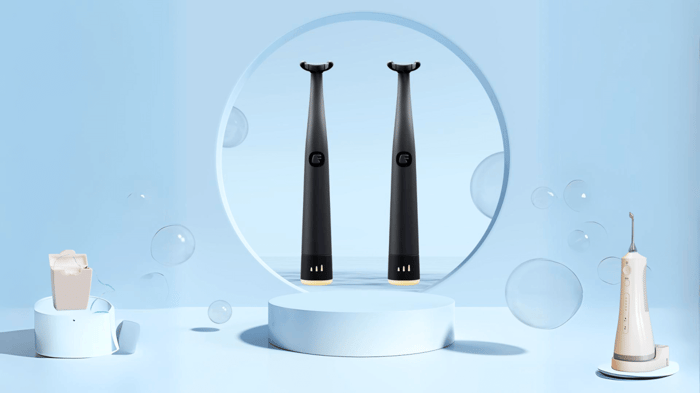
First things First: Let's meet your Flaus!

Power Button:
- Press x 1 to turn on your Flaus
- Press x 2 to reach the second speed
- Press x 3 to reach the third speed
- Press x 4 to turn off your Flaus
Power + Speed Indicator Lights: These indicate which power level your Flaus is on
- One light - 10,000 sonic vibrations/minute
- Two lights - 14,000 sonic vibrations / minute
- Three lights - 18,000 sonic vibrations / minute
- All three lights blinking - you've entered travel mode! to turn off Travel Mode, hold down the power button for 5-8 seconds (or until the lights flash again).Press down on the power button and your Flaus will power up once again!
Charging Base: Plug in the charging base to any USB-A outlet or power adapter and place your Flaus in the base to charge:
- Slow flashing = charging
- Solid light = fully charged (light will turn off after two minutes)
How to use the Flaus Electric Flosser
Step One: Turning on your Flaus
With your device turned on, choose your desired speed (10,000, 14,000 or 18,000 sonic vibrations per minute) position the floss between two teeth. Use your opposing teeth on the soft bite pad to gently control the pressure as you floss. Don’t force it — the sonic vibrations will move the floss through tight spaces. Once there, gently guide the floss against the gum line to remove stubborn plaque — you just might enjoy the gum massage!

Step Two: Flausing
While flossing, gently pull the Flaus head to put tension in the floss and form a “C” shape around the tooth. We put a little extra “give” in your floss to make this easy.
Getting gross? Rinse your Flaus head under clean water to de-gunk as you go. Rinse and reuse until it's time to change.

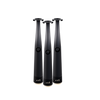
Step Three: Removing your Flaus Head
Nest the curved neck of the flosser into the inner crease of your fingers, with your thumb placed flat across the bite pad. With both arms of the floss head against a flat surface, gently apply downwards pressure through the thumb, and rotate your thumb inwards. The floss head will pop off one side at a time.

Step Four: Applying a Fresh Head
Grab a fresh Flaus Head from your refill stash. Align the skinny part of the Flaus Head with the open ridge on the back of the neck. With your index finger and thumb, push the Flaus Head on to the mount. You will feel it click into place - you’re ready to Flaus!
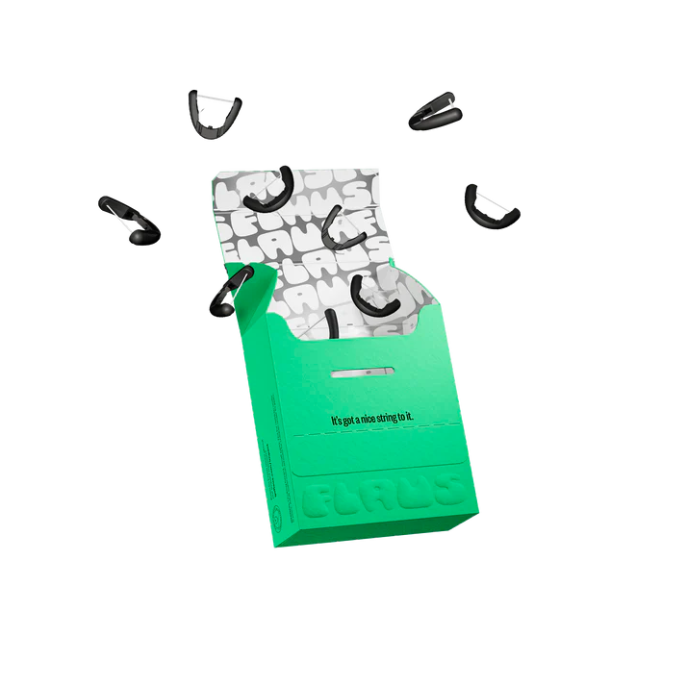
**save your used Flaus Head to send in to the Flaus Head Recycling Program

Step Five: Charge it up!
Plug in the charging base to any USB-A outlet or power adapter and place your
Flaus in the base to charge:
- Slow flashing = charging
- Solid light = fully charged (light will turn off after 2 minutes)

Tips + Tricks on Using Flaus Electric Flosser
Want to become the best Flauser you can be?! Take a look at these tips + tricks that will help you get the most out of your Flausing experience!
What is the biggest flausing tip? Use the Bite Pad!
Use your opposing teeth to apply gentle pressure to the bite pad (located on the back of the device) - this helps you control the pressure as you move the Flaus Head in between your teeth!

Let the vibrations do the work for you!
Let the 18,000 sonic vibrations do the work for you when you're getting in-between those tight spaces! Flossing usually requires a bit of force, but Flaus has a more gentle take - be patient and don't force it! Your Flaus has three speeds (10K, 14K + 18K), we find that using the higher speeds in those tighter spaces helps to get the floss in and out of there a little easier!
Do I need to Flaus in order?
Do the tight spots last! Everyone's mouth is different, it's totally normal to have tight spots that might break the floss. As you continue to Flaus, you'll learn more about your mouth and learn what works for you!
Your Flaus has three speeds (10K, 14K + 18K), we find that using the higher speeds in those tighter spaces helps to get the floss in and out of there a little easier!
*Pro-Tip: prolong the life of your Flaus Head and leave those tight spots to last!
How long does it take to become a Flausing pro?
Although flossing is similar to flossing, there can be a learning curve! We suggest trying your Flaus for 21 days to fully get the hang of it!
PS - Need more Flausing tips? Send us a note at support@goflaus.com and we can help make sure you become an A+ Flauser!